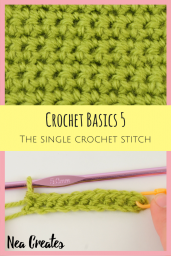
Crochet Basics 5: the Single Crochet Stitch
August 12th, 2017 | Leave a comment | by Nea

Hey guys!
This is the fifth lesson in my tutorial series, Crochet Basics. In this lesson we’ll learn how to crochet the single crochet stitch and how to crochet a flat piece two ways using single crochets.
Start from the beginning >> Crochet Basics 1: Yarn, Hooks, Stitch Markers and Terminology
Previous lesson >> Crochet Basics 4: how to Crochet a Chain
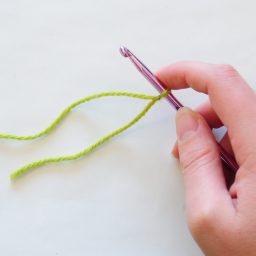
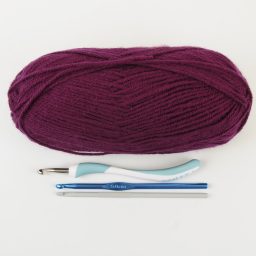
As per usual I am using the 100% acrylic yarn Favorite by Ice Yarns and a 5mm tapered aluminium crochet hook.
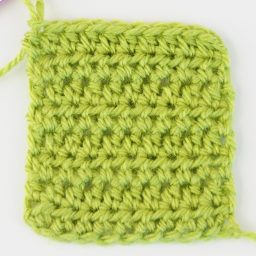
The single crochet stitch
Name: Single crochet (US), Double crochet (UK)
Abbreviation: sc (US), dc (UK)
Height: 1 chain (not counting the chain as a stitch), 1 chain (counting the chain as a stitch)
- Insert hook through the next stitch or chain.
- Yarn over and pull back through the stitch or chain, you now have two loops on your hook.
- Yarn over and pull through both loops on the hook.
Single crocheting a flat piece (not counting the chain as a stitch)
Chain 10+1, to account for the height of the stitch. Then single crochet, following the instructions above, in the second chain from the hook (skip 1 chain). You can see that the top of the stitch you just made looks very similar to a chain in its V-shape with one back loop (farthest from you) and one front loop (closest to you). The loop on the hook emerges from between these two loops. Mark the first stitch by inserting a stitch marker under both those loops.

Now continue making single crochets in each chain across. The work will curl naturally, it does not mean you’re doing anything wrong. Mark the stitch you make in the very first chain by inserting a stitch marker under both its loops, this is the last stitch of the first row.
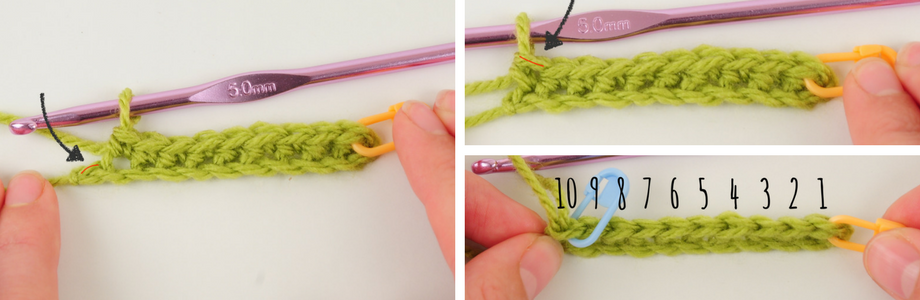
Now count the stitches, this is done in the same way as you would count a chain, the V-shape or two almost parallel loops count as one stitch. Count from the first stitch that you marked to the last stitch, which you also marked. If you chained 11 and didn’t miss a chain when single crocheting you should have 10 stitches including both the marked stitches. If you do not have 10 stitches you might have missed a chain. Make sure you’ve put a stitch in the last chain, and also that you put the first stitch in the second chain from the hook, not the third.
Row 2
Now, for the next row we need to start by chaining 1, since the single crochet is 1 chain high. So, chain 1, then turn your work so that you are now looking at the back of it. It doesn’t matter if you turn the work clockwise or anti clockwise, however it is good to remember which way you turned so that you consistently turn it the same way. This will make the edges of your work look neater in the end.
It is worth noting that the back loops and front loops are always relative to your position. So when you’ve turned your work what was previously the back loop is now the front loop and vice versa. The back loop is always farthest from you and the front loop is always closest to you.
The first stitch of this row is made in the last stitch of the previous row, so the second stitch that you marked. Remove the stitch marker, insert the hook under both the loops of the stitch, just like you did with the stitch marker, and finish the single crochet. Mark the stitch you just made by inserting a stitch marker under both loops of the stitch.
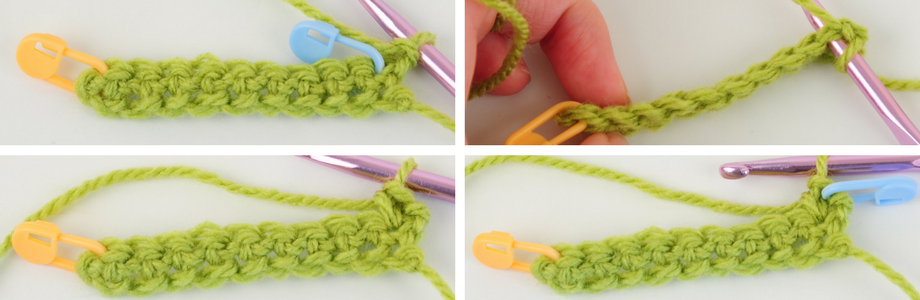
Single crochet in each stitch across, until you get to the first single crochet you marked. Remove the marker and single crochet in the stitch, mark the new stitch.

Count the stitches to make sure you still have 10.
From here we have a repeating pattern. Chain 1, turn your work in the same way you did previous, single crochet in each stitch across. Mark as many stitches as you want and/or need to be confident in your work.
Counting or not counting the chain as a stitch
Alright, so the chain 1 at the beginning of each row, even the foundation chain (10 + 1), helps us get up to the same height as the single crochet. Now, in the above instructions that’s all it does. But you could also choose to view that chain 1 as a single crochet. Meaning that for a crochet piece 10 single crochets wide you would only need to chain 9 + 1, because the tenth chain counts as a single crochet. The first row would then be the same as above, except you’d only need to crochet 9 single crochets.
The second row is different though. Here the chain 1 represents the last stitch from the previous row. So we do not single crochet in that stitch, instead we single crochet in the next to last stitch from the previous row (or skip 1, if you prefer). Then we’d single crochet 7 more times before reaching the chain 1 of the first row. In this chain we put the ninth and final single crochet of the row. We chained 1 and single crocheted 9 times, meaning we have 10 stitches, because the chain 1 counts as a single crochet.
Trust me, I know this is confusing. Let’s just say that there’s two ways to crochet a flat piece in any given stitch. I will talk about both ways for each stitch, but I suggest you skip counting the chain as a stitch for now, and come back to it when you’re more comfortable with crochet over all. I just think it’s best to be aware that there are two different ways to do this, and that you should never mix them, at least not until you know what you’re doing.
Single crocheting a flat piece (counting the chain as a stitch)
Below we have two ten by ten single crochet pieces. To the left we have not counted the chain 1 as a stitch, to the right we have. There’s no huge difference between them which is why I don’t think it is very common in single crochet that you count the chain 1 as a stitch.
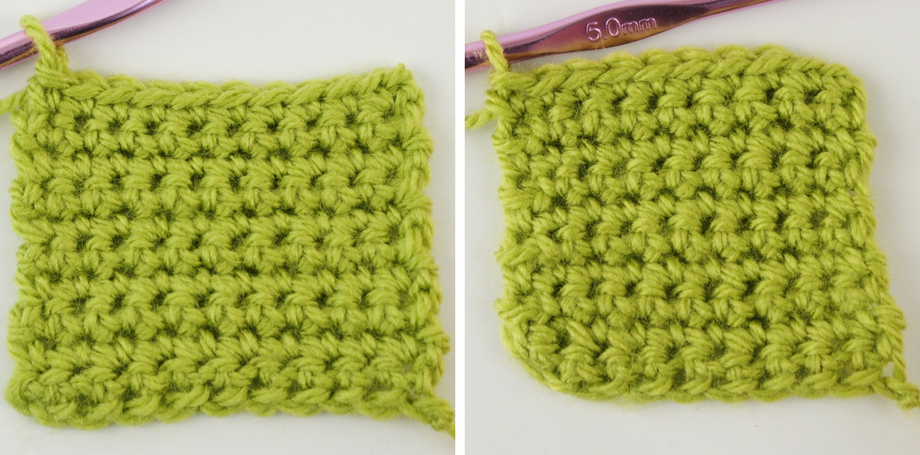
Chain 9 + 1, marking two loops of the tenth chain with a stitch marker. Single crochet in the second chain from the hook and in each chain across, 9 times in total. Mark the next to last stitch. Count the stitches and make sure you have ten, counting the marked chain. *Chain 1, marking the chain in the same way as before and turn your work. Single crochet in the stitch you marked in the previous row (or skip one stitch). Then single crochet in each stitch across, 7 more times. Now single crochet in the chain you marked in the beginning of the previous row by inserting the hook under the same two loops as the stitch marker. Depending on which two loops you’ve marked this can be very difficult to do and might take some finicking. Count the stitches and repeat from *.
Finishing off
After crocheting 10 rows of single crochets you might want to tie off. Usually I’ll do this by cutting the yarn, leaving a short yarn tail, yarning over and pulling the yarn tail completely through the loop on the hook. I then pull on the yarn tail which creates a knot that will keep your work from unravelling.
Now you know how to crochet a flat piece two ways using single crochets!
Next lesson >> Crochet Basics 6: the Half Double Crochet Stitch