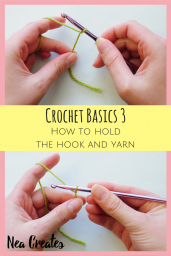
Crochet Basics 3: how to hold the Hook and Yarn
July 15th, 2017 | 2 Comments | by Nea
Hello again guys!
This is the third lesson in my tutorial series, Crochet Basics. In this lesson we’ll learn how to hold our hook and yarn.
Start from the beginning >> Crochet Basics 1: Yarn, Hooks, Stitch Markers and Terminology
Previous lesson >> Crochet Basics 2: how to make a Slip Knot
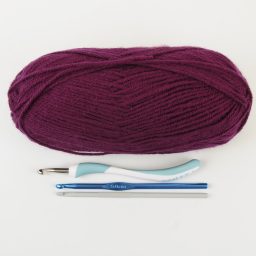
I am using the 100% acrylic yarn Favorite by Ice Yarns and a 5mm tapered aluminium crochet hook in this tutorial.
How to hold the Hook
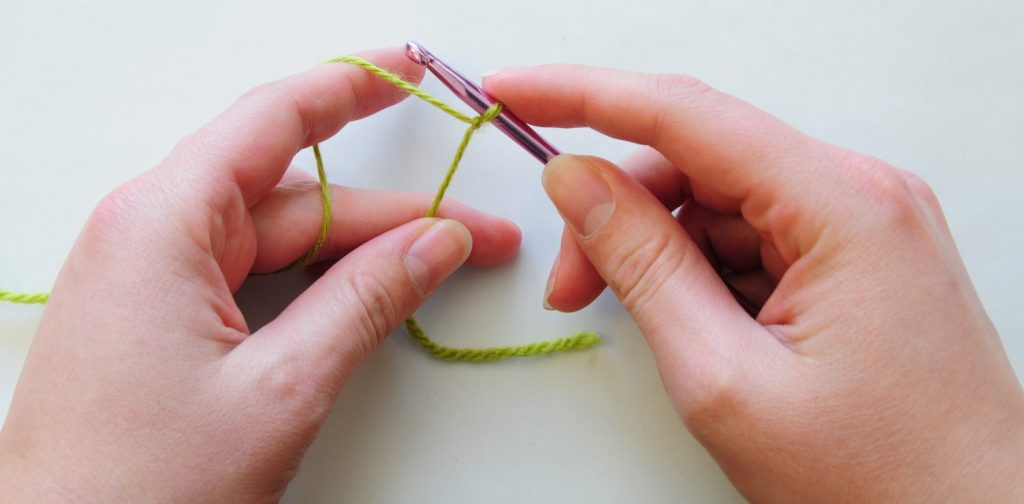
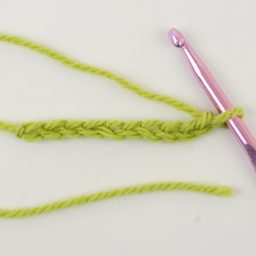
Alright, let’s talk about how to hold the hook. The two most common hook holds are the knife hold and the pen hold. They’re both quite self explanatory. The picture below shows the pen hold, or holding the hook as if it was a pen.
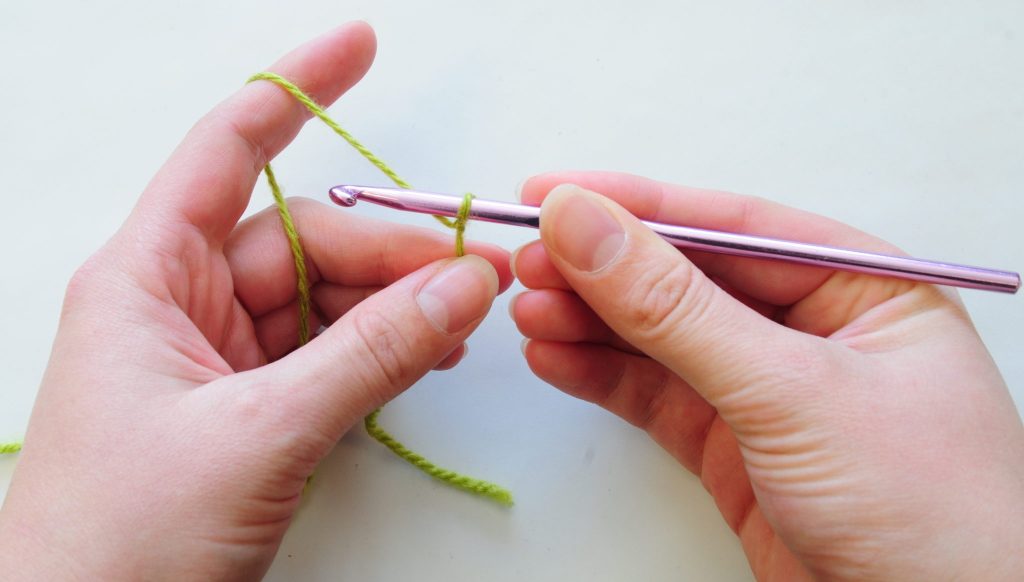
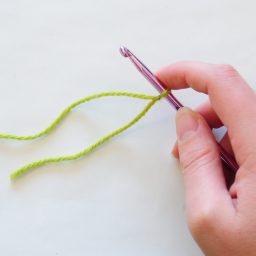
Personally, I hold my hook as if it was a knife, pictured below. I can crochet using the pen hold, but much slower than when using the knife hold. I also use my right index finger to control the yarn, which you’ll notice in future lessons.

In the end, it doesn’t really matter how you hold it, as long as you are comfortable. Try both as we go along and decide which grip feels best to you. Just try not to hold on to the hook like your life depends on it, this will just lead to cramping in your hand, and nobody wants that.
Once you’ve crocheted a while and you feel like maybe this is something that you want to keep doing, I strongly recommend that you buy a more expensive, but most importantly, ergonomic, set of crochet hooks. Crocheting regularly can cause pain and injuries to your hands and wrists, which ergonomic hooks can help relieve. Check out my review of my favourite hooks, the Addi Swing crochet hooks here.
How to hold the Yarn (yarn tension)
Holding the yarn is not quite as straightforward as holding the hook. There are many more variations, and what hold you use influences the tension of your stitches. For example, if you wrap or hold the yarn very tightly, your stitches will be very tight and hard to make. Conversely, if you hold the yarn too loosely the stitches will also be too loose.
Most people (that I’ve watched on Youtube), wrap their yarn somehow around their left hand, feeding the yarn over their left index finger. I do this as well, as you can see in the pictures above. I have three or four variations to my own hold, depending on the tension from the yarn skein and such. The variation I use most commonly is laying the yarn over my four fingers from below, then around and underneath my little finger, above my ring finger, below my middle finger, and above my index finger. If the tension is too loose I wrap the yarn around my four fingers once more before I lay it around my fingers this way.

There is no right answer, just try different holds as we go along and find something that you feel comfortable with.
Something to keep in mind is to try and not control the yarn tension by holding on to the yarn with you little and ring fingers. I did this in the beginning, and it made it impossible for me to crochet for longer periods of time. Holding on to the yarn this way will cause the fingers and hand to cramp up very uncomfortably. I had to reprogram myself to hold the yarn differently to avoid this and it took a while. It’s better to avoid it from the start I think.
I’m gonna go ahead and say that if you’re just starting out with crochet, your tension is most likely gonna be bad. Good and even tension comes with a lot of practice and actual crocheting. So don’t be surprised or disappointed when your first stitches don’t look as even as someone’s who’s been crocheting for a longer time. When I first started out my tension was all over the place, but it got better with time and lots of crochet.
In the next and third lesson, we’ll be learning how to crochet some chains!
Next lesson >> Crochet Basics 4: how to Crochet a Chain


I would like to make a gift basket for a Christmas raffle and would like to buy a beginner book on how to crochet, and tips. Also easy hat, shawl, blankets, scarf patters. I was wondering if there was a cheaper place to purchase so I can add more to the basket. I would also download and print some and make a notebook. Any help appreciated.
That sounds lovely! Unfortunately I don’t have any books to recommend as I’ve taught myself via online resources only, I’m sure there are plenty to choose from though. However, you can find crochet patterns of all kinds on http://www.ravelry.com or on Etsy (e.g. my shop: https://www.etsy.com/se-en/shop/NeaCreates) where the difficulty of each pattern will be included in its description. I’m sure there are beginner guides available for purchase on Etsy as well. Good luck! 😊